Day 15:
Alright so I’ve had a few days off here without posting anything.. what the hell has Matt been doing? Slacker.. probably spending time with his family or something. But NO, that would be selfish of me. Instead I took a trip over to Kingsport for the pinball auction on Saturday (didn’t buy anything, all the prices were a bit high and the quality was a bit low), then a little pinball tournament on Sunday. And I do have a job I actually go to from Monday-Friday… so there’s that.
Anyway, enough excuses. What did we do tonight…
 Got the remaining LEDs in the mail, some orange, some red, and some warm white frosted. Apparently there was a mix up at the old Cointaker factory as 67 of the 70 “warm white frosted lamps” turned out to be “cool white frosted lamps.” That won’t do.. not on this game. They’re sending me out some new ones, great response from them on a Sunday afternoon.
So next I pulled the power board with every intention of starting the work on the connectors.. and then my soldering iron crapped out on me. I take this as a sign I am not to do any electrical work today. Ordered a new soldering iron and moved on to some less involved undertakings (Hakko 888 in case you’re interested, decided it was time to move up in the desoldering world while I was at it and ordered a Hakko 808 to compliment it. Hey, I said I didn’t buy anything at the pinball auction.. I gotta buy something) . On to ramp repair!
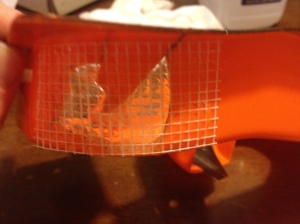
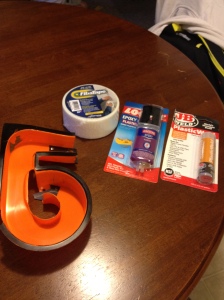 So they have a reproduction of this ramp but I’m already at the owner’s budgeted limit but I can’t leave a giant freakin’ hole in the thing so let’s get creative. I did something similar to this on the Space Shuttle I restored as there was no replacement ramp for that game (at least not when I was restoring it). Little two part plastic epoxy, some clay-type plastic compound and a little fiberglass mesh tape (the kind you use to sheetrock with). Mesh tape first, then the liquidy two-part epoxy, then the clay epoxy last.
Wait for 24 hours. After that I can sand it down to nice smooth edges and hopefully everyone is none the wiser, especially after I spraypaint it and it sits all the way in the back left corner of the game. We’re looking for functionality here. (You’re probably looking at that last picture and thinking, “Holy crap! What has he done to that poor ramp??” Don’t worry, it’ll all work out in the end, trust me…)
 Alright so that’s done and curing for the next 24 hours so what else can we do? The drop target decal arrived so let’s go ahead and put that on and get rid of that key that’s still hanging out serving as a drop target push lever (or whatever you call it).
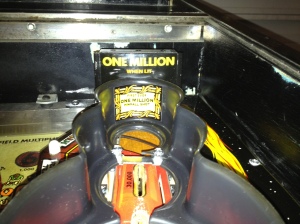
Also got the “Million point” decal for the cycle ramp so we’ll stick that sucker on there and then on to some cabinet touchup.
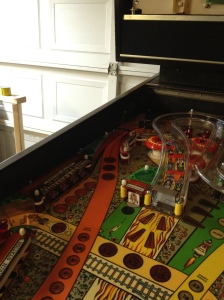
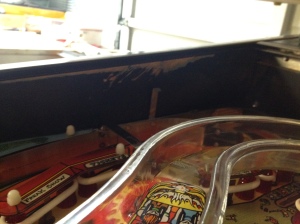
Wow, look at all that crappy scratched up paint inside the cabinet (and outside for that matter), let’s do something about all that, I’m sick of looking at it. We’re not collecting coins here, I don’t find any joy in looking at a beat up old cabinet. But who’s going to pay to redecal a freakin 1985 Comet? Good thing for us it’s all black.. man I love touching up black cabinets… no mixing colors, no guessing if it’ll match, no worries about not having enough paint.. it’s black. Just get to work. Personally, I use good acrylics, not that cheap American Heritage crap, the stuff in the tubes. It just goes on smoother and lays flat without all the globbing you get with the cheap stuff.
So what’s left now? Board work.. LEDs.. finish off that orange ramp.. and it’s done.
So here’s some before/after (mostly after) of the touchup. As always, more can be found on the Comet page.

